Part 3: Creating a New Product with Vervante: Design & Printing
by Vervante •
 It's time to talk design! Recently we’ve discussed the beginning stages of creating a new product and working with Vervante. In Part 1 and 2 of this series, we discussed the first steps of defining and content creation for your new product. Now we’re ready to talk about design.
When it comes to designing a book or product, it's important to pay attention to the details. For example, you can have a gorgeous cover design for your book, but if when you look inside the words are cut off in the margin, or holes are punched in the wrong places, it can ruin the whole experience. Things like margin width and print file formatting are very important. Whether you are doing the design yourself, or you use a graphic design professional, attention to these technical details is crucial.
How to prepare your files for printing
We know you’re excited to get your new product printed and we want to expedite the process as quickly as possible for you. All files must be submitted as print-ready PDFs using the "Upload Files" link on your Author Dashboard. When you upload your PDFs, our team downloads your files and reviews them to ensure that they are set up properly for printing. Many of our customers create their own print files using applications such as Canva, while others hire a professional graphic designer. Both methods are fine, just remember that your PDFs must contain bleed and crop marks in order to be considered print-ready.
Tips for designers who use Canva
If you use the online design program Canva to create your products, you’re not alone. Many of our customers use Canva with great results for creating planners, journals, card decks, calendars and more. If you have your Canva designs ready to send to us, be sure to check out this blog article filled with tips to insure your files are correctly set up.
Why margin width is important
If you are designing a new planner, journal or book, attention to margins is crucial. For example, you can have a gorgeous eye-catching cover, but if you open the book and the words are cut off in the margin, or holes are punched through them, it can ruin the whole experience. In general, for spiral or wire-o bound products we recommend 1/2" margins to be safe. However, if space is an issue, you can follow these specific guides:
- Holes for spiral binding are smaller and only require 1/4" of the binding edge.
- Wire-o holes are larger and require 1/2" margins
Bleed and crop marks
Missing bleed and crop marks are one of the most popular reasons for rejected print files. If your PDF has edge-to-edge printing, then you need bleed. This means the image should be slightly larger than the finished page size so that when we trim to the crop marks, we will cut through the image so that the printing actually prints edge to edge. Without bleed, your page/cover/document will have a white border all of the way around and the color will not print to the edge of the sheet. Be sure to download our free expert guide for more information about bleed and crop marks.
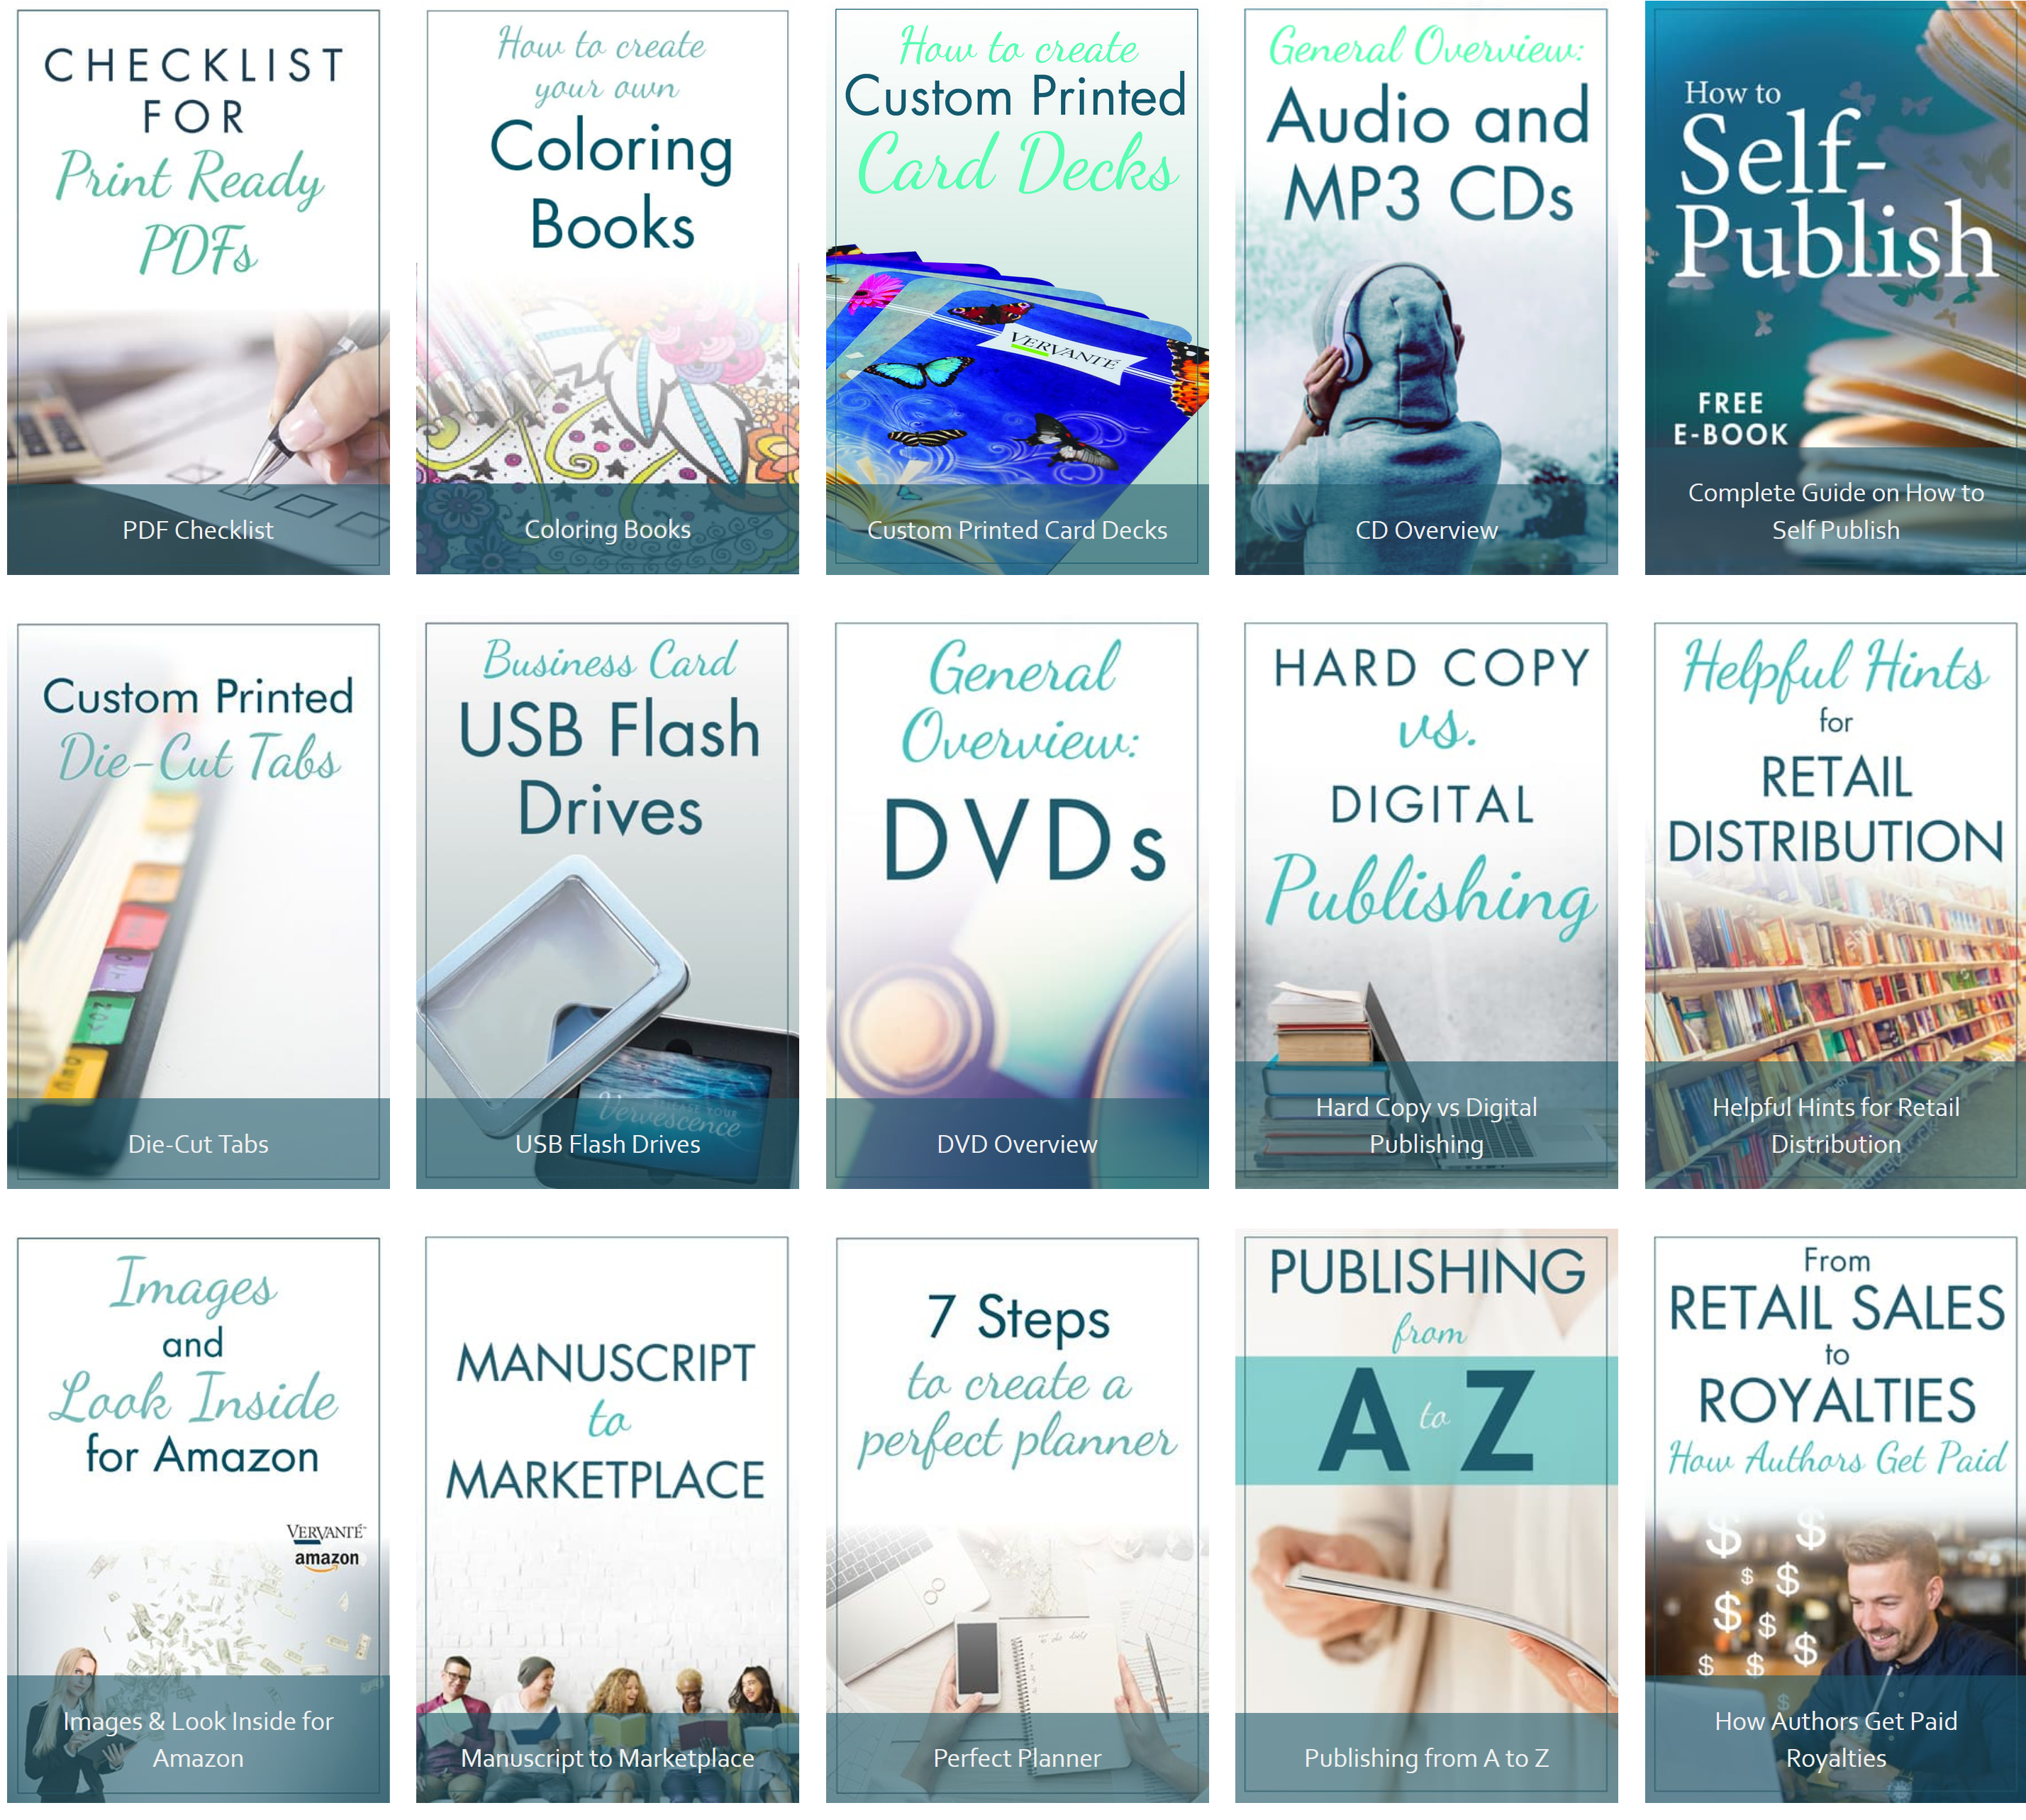 FREE RESOURCES
Our Help Page offers a variety of free resources including product videos and guides on everything from design to step-by-step instructions. Below are links to just a few available:
- Bleed & Crop Marks Ultimate Guide
- Why Margin Width is Important for Printing
- Checklist for Print Ready PDFs
- Die-Cut and Kiss-Cut Stickers
- How to Create Custom Die-Cut Tabs
- How to Add Pizzaz to Your Products
- How to Create and Customize Certificates
- (Coming Soon to our Expert Guides Page) Guide for Using InDesign
In this section of our special 5-part series, we hope we shared information that has inspired and motivated you to move forward with your idea for a book or special product. Next week, we will focus on important facts about publishing and printing your products, including tips for how to imprint as an author, pricing your products, listing on Amazon, online sales, and more.
Links to Full Series
- Article #1: Getting Started
- Article #2: Creating Your New Product
- Article #3: Design and Print Files (this article)
- Article #4: Publishing & Printing
- Article #5: How to Share & Sell