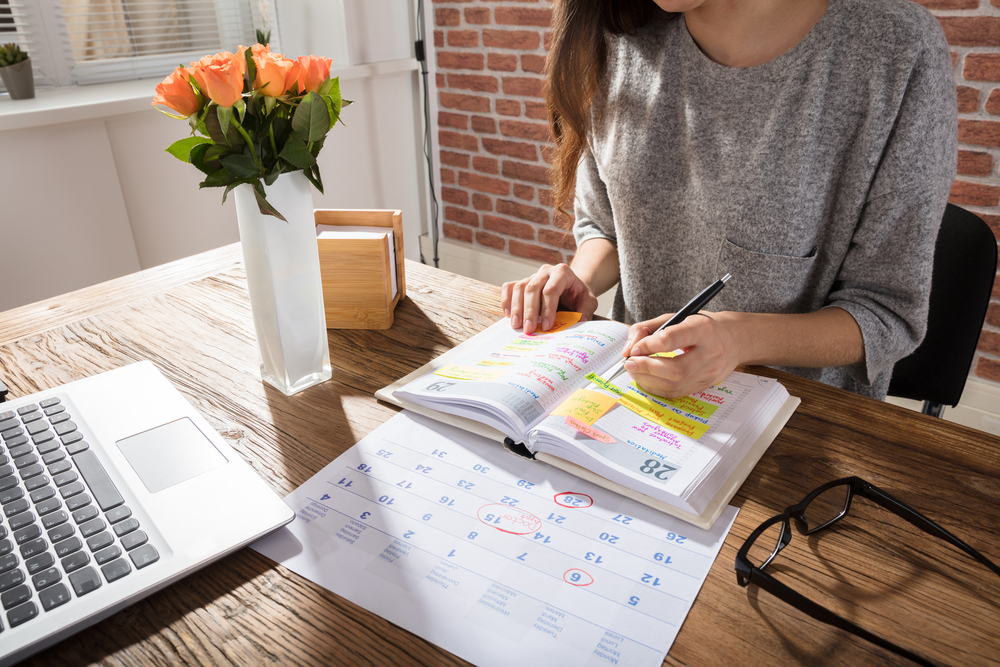
You’ve created the perfect planner, now the big question is how much to charge for it? It’s like a scary math problem where the answer isn’t always clear. Price it too high and no one will buy. Price it too low and you devalue your work and your profits. Finding the right price doesn’t have to feel like a guessing game, though, especially if you follow these steps.
(btw, these work for any product – books, journals, card decks, etc.)
STEP #1: Research similar products and see what they are charging. This will give you a starting price range and an idea of what customers are willing to pay.
A note about pricing: If your community is relatively small and you’re planning on printing a small batch, for example less than 500 planners, don’t compare your product and price point to planner industry leaders Emily Ley or Erin Condren who both print thousands at a time, making their costs significantly lower.
STEP #2: Calculate your costs including printing, production, and fulfillment to get a break-even baseline. If you plan to sell on Amazon, remember to add in 15% commission for Amazon. If you sell from your own site, include fees such as credit card processing and other merchant fees.
STEP #3: Consider the value your book, planner or product is offering to your customer. Will this product help them save time, money, stress? If you deliver a lot of value, this in turn raises the value of your product and the price you can charge.
STEP #4: Set a price that feels right to you. If you think you’re charging too little, then you’ll feel resentful and that will come through. If you think you are charging too much, you might feel nervous, unsure or scared to put it out there.
STEP #5: Poll beta testers. Reach out to friends, colleagues, anyone who might fit your target customer demographic and ask for feedback. A soft-launch is a great way to test the water. Pre-orders are another great way to test your product, price, and even help determine how many to print. The other added benefit of pre-orders is that it helps offset the cost of the print run.
STEP #6: Relax that this isn’t set in stone. Pricing can be nerve-racking, we know, but you can always adjust. You might start out with an introductory price to test the waters and then adjust it to fit demand. Coupon codes, special packaged deals, and other similar methods can be used until you’ve got it just right.
STEP #7: Add value to support your price: Make the price you set a no-brainer by adding so much value that your customer is excited to buy! Create packages to make it unique and different than anything else – and add value with extra products that complement it. For example, for daily planners you could include extras like pens, clips, bookmarks, notepads, stickers, card decks, or even experiences like an introductory coaching session or limited-time membership in a mastermind or online program.
Adding a little something extra like this will elevate your planner's value in your customer's eyes. Yes, there might be similar products with lower prices (that are most likely bulk-produced in China), but you have the ability with self-publishing services to create something unique, elevate your customer's experience, and make yours the choice they want.
Great packaging for any product should always have one thing in common – making the product look great! And there’s nothing better at letting a product’s value shine through than clear tuck boxes.
If you’re looking for a packaging option that is attractive, versatile, and works for a wide variety of products and needs, clear tuck boxes are it! Here at Vervante, we offer clear tuck boxes in different sizes that work for a variety of products including card decks and sets of greeting cards.
Clear tuck boxes offer so much versatility, letting everything inside shine through.
Available on demand, no minimum order quantity required
Can add attractive packing materials inside like colored tissue, confetti, shredded crinkle-cut papers, jewels, and other treats that catch the eye.
Sturdy and easy to use
Adds value to deck cards or set of greeting cards
If you want packaging that gives you some extra pizzazz for that first impression moment, clear tuck boxes will definitely deliver.
If you’d like to inquire about clear tuck boxes for any of your products, we’re here to answer questions or provide quotes at [email protected].
No matter what type of product you have, there are always ways you can make it better. Even just the smallest little extra can be the key that inspires customers to hit the "buy" button and choose your product over the rest. We've rounded up a few ideas below for popular products that you can easily add for your products.
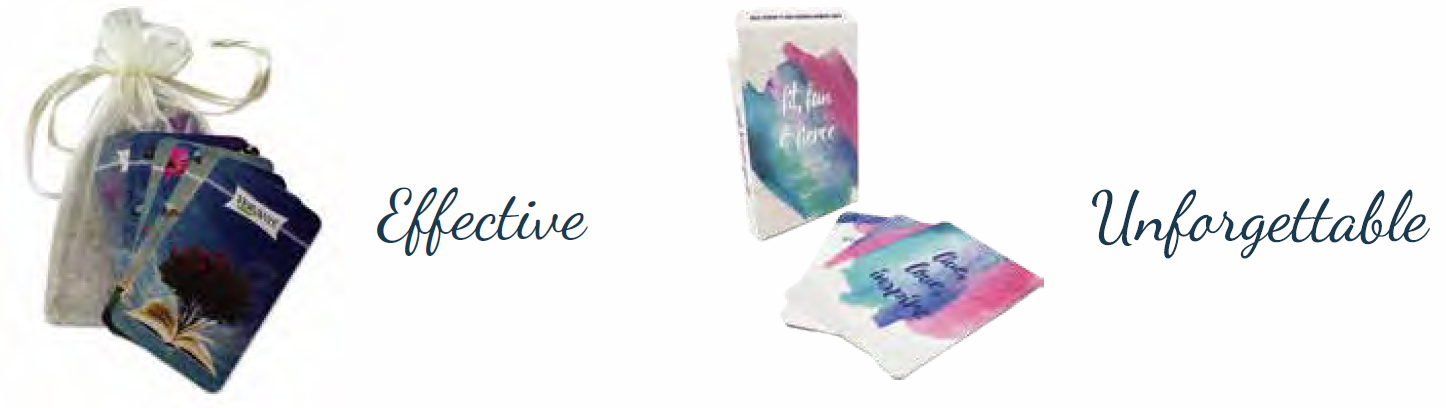
Card Decks
Custom-designed card decks are fun, valuable, easy to use, and very memorable. A great way to uplevel your card deck presentation is by creating custom packaging. Many people provide bags for card decks that we can package them in, but did you know that we can also print custom-designed boxes and packaging for cards? Check out our expert guide, "How to Create Custom Printed Card Decks," on our Expert Guide page to learn more about card decks and the packaging options we offer.
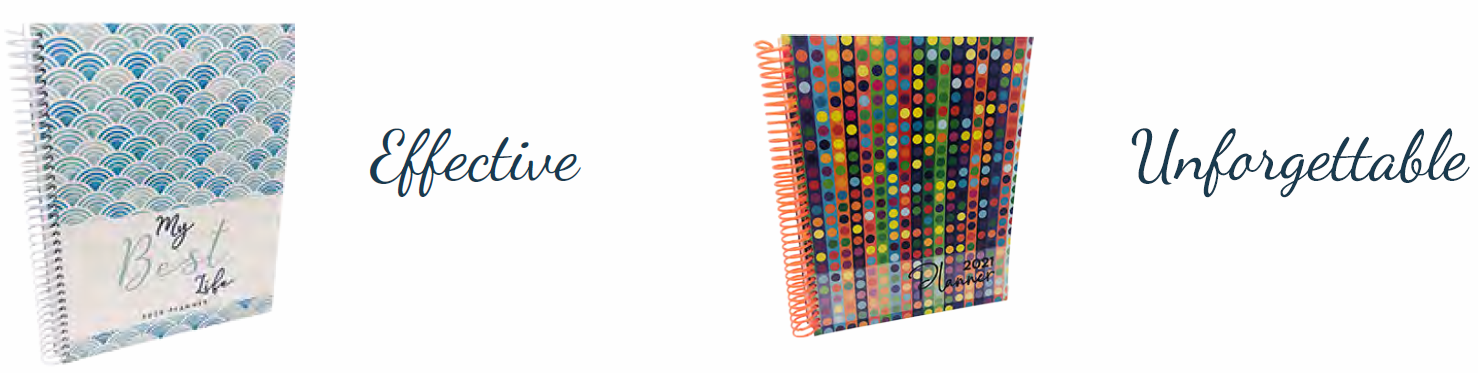
Spiral or Wire-o Binding
Journals, planners, coloring books, and workbooks are just a few examples of products that increase in both function and value when you have the ability to lay them flat. When it comes to spiral and wire-o binding, we have a lot of options. Plus, we can help you list and sell spiral-bound products on Amazon - something most other print-on-demand publishers don't offer.
Spiral binding can be used for:
Soft Covers
Poly Paper (water and tear resistant)
Hard covers
Laminated Soft Covers
2-Ply Board Covers
We offer a range of colors for spiral and wire-o that have the power to deliver a high-impact first impression, as well as a reliable binding option for your customer. Your product, already packed with value, becomes awe-inspiring and unique with the simple addition of a color or metal option.
Plastic spiral binding (50+ colors)
Metal spiral (3+ colors)
Metal wire-o (7 colors)
For more information about using spiral or wire-o binding for books, journals, planners, coloring books and more, see "How to Sell Spiral Bound Products on Amazon" on our blog.
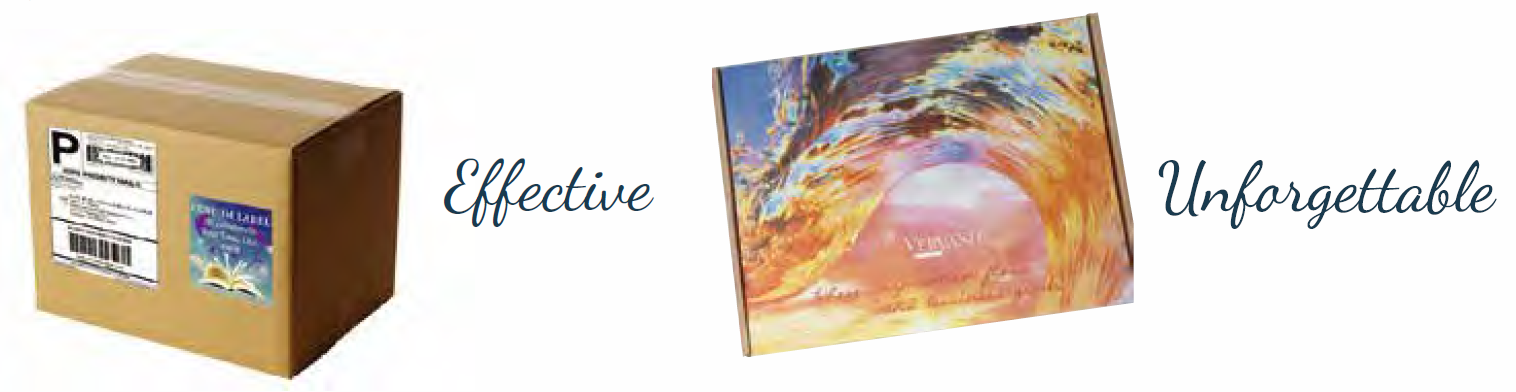
Custom Labels or Custom Printed Boxes
Custom labels are an excellent way to maximize your brand, logo, or message. Take advantage of this valuable – and often overlooked – brand-boosting opportunity by creating a fullcolor label that features your unique design. Custom labels are a simple, yet vastly effective way of dressing your letter and packages for success, and making sure that your brand is the one that stands out. A custom printed box stands out from the crowd. Add your message to the outside and inside of the box and wow your customers!
For more information about custom printed boxes, watch the video "Custom Printed Boxes" on our video vault page on the website.
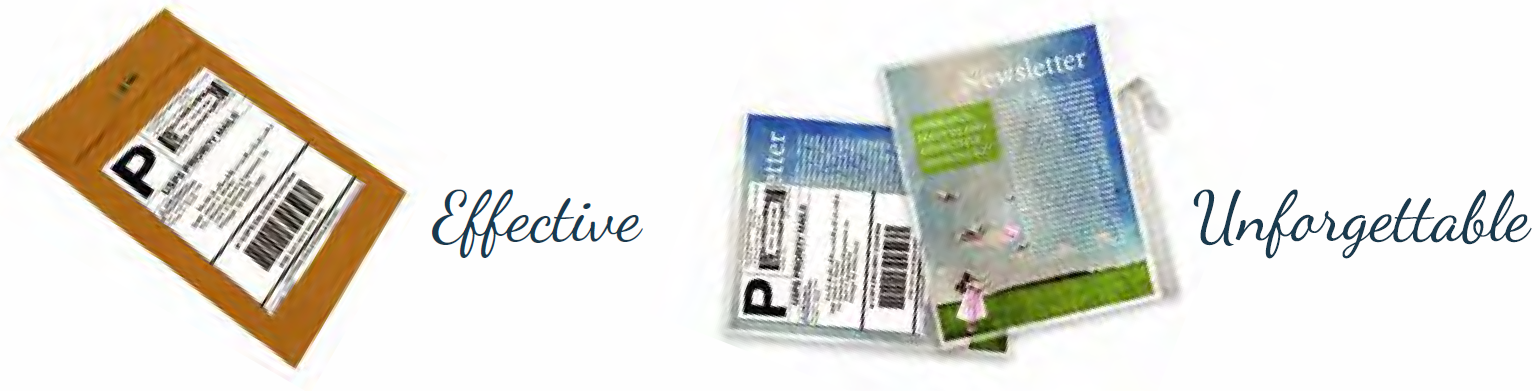
Printed Newsletters
Direct mail pieces such as newsletters are a great way to connect to your readers at a deeper, more emotional level. Sending them in a standard white or brown envelope is great, but sending them in a clear mailing envelope is a great way to let your newsletter shine through and wow your readers before they even start reading them.
For more product and packaging ideas that will help your products stand out from the crowd, be sure to watch the videos in our website Video Vault. We are also happy to provide free quotes and answer questions about any of the products mentioned here,
 You’ve created the perfect planner, now the big question is how much to charge for it? It’s like a scary math problem where the answer isn’t always clear. Price it too high and no one will buy. Price it too low and you devalue your work and your profits. Finding the right price doesn’t have to feel like a guessing game, though, especially if you follow these steps.