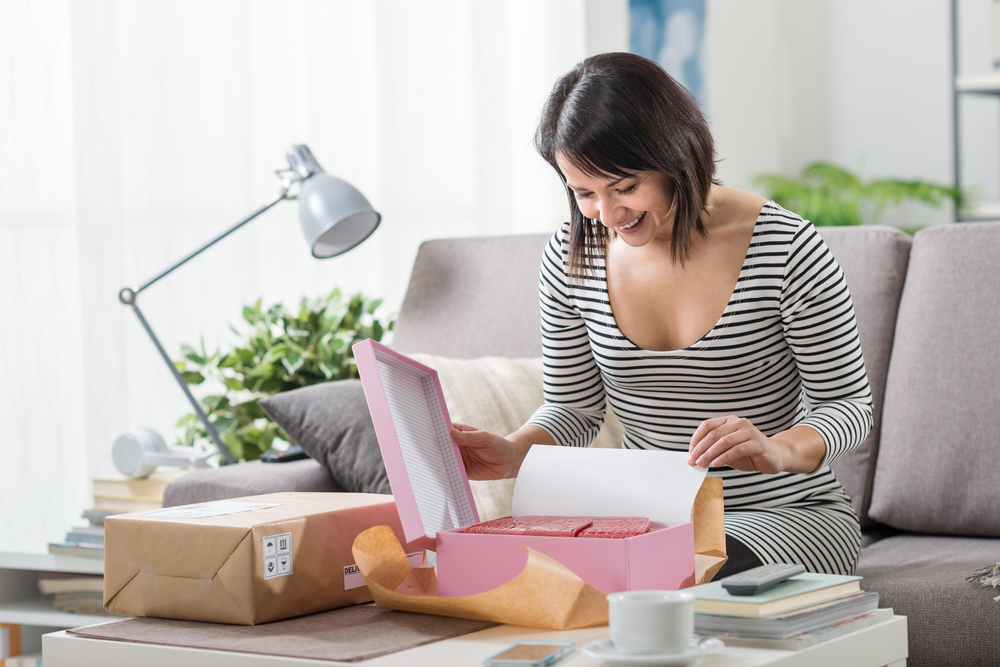
One of the most addictive things we love to watch on social media are “unboxing” videos. How fun is it to watch people open their packages and see not just what they ordered, but all the extra fun and special stuff inside?
The packages you send out can be just as fun for your customers to open (and maybe end up starring in their own unboxing videos) by adding just a few “extras.” The beauty of this idea is that it’s very customizable. You can create as much as you want, add any products you like, and customize the design and details – and we can help you make it happen.
How to add fun extras to packages
This works for any type of packages including Subscription Boxes, VIP Boxes, Book Launch Boxes, Planner Debut Boxes, and even just single-purchases such as books or journals.
FIRST: Decide what extras you would like to include in your package
The secret to really impressing your customers is to choose items to add to your box that will complement the product ordered, or that will add value to the event or program your customer signed up for.
We can produce some types of items such as:
Thank you postcard, notecard or letter
Wallet card flash drive
Card decks
Golden tickets, coupons, or bookmarks
Notepads / Notebooks / Journals
Stickers
(see our online catalog and samples for more ideas of products we can help you create)
You can also send us supplied items and our fulfillment service team can include them in your packages for you when we ship out your orders. Some ideas include:
SIZE: If you would like a custom printed shipping box, we need to determine the correct sized box based on the content. Or, you can use one of our white shipping boxes and we’ll use the correct size.
When you speak with our team about putting together your special packaging, consider how you want it presented. Do you want the products nestled inside layers of colorful tissue paper? Add a touch of glamour with confetti? Carefully positioned in shredded packing paper or bubble wrap in colors that match your brand? Take a look at unboxing videos for similar products to yours for ideas on presentation, then let us know what you’d like to do.
Also, be sure to check our video vault page to see live examples of how this can work:
FINALLY: Set up for warehousing, fulfillment and shipping
Special boxed items like these involve multiple parts that need to be assembled, packaged and delivered just right. Here at Vervante, we provide the storage, assembly and shipping services you need for all types of boxes.
If you're ready to create a box that provides an extra special experience for your customers, here are your next steps:
Let us know the products you plan on using, the box size and anything else you want for this project and we'll help you get set up.
Better yet, put your head together with our CEO, Cindy Tyler, and she'll provide the advice you need for the box you want to create. (Schedule a phone call by clicking here)
P.S. Creating special boxes like these can also be a great opportunity for a collaboration. Send this email to a friend or colleague and work together to create something special!
If you use the online design program Canva to create your products, you’re not alone. Many of our customers use Canva with great results for creating planners, journals, card decks, calendars and more. If you have your Canva designs ready to send to us, here are a few tips and tricks to make sure your files are correctly set up and your printing experience stress-free.
Page Limitations
When you create a design in Canva that has multiple pages, Canva limits you to 100 pages. If you are creating a product that has more than 100 pages, such as card decks or daily planners, here’s what to do:
Split up your design into multiple files within Canva.
Send us the files and our design team will merge them into one final print-ready pdf for a small design fee. Please number the PDFs in the order they should be merged.
We will then send you the final file for your approval before proceeding with setting up your product for printing with us.
Adding Bleed If your product has color that goes all the way to the edge of the page, you need to be sure that you’ve added bleed to your design. Bleed helps to avoid having unsightly white gaps when you want your design to print to the edge of the paper. Here is how to set up bleed on designs in Canva:
Click on “File”
Select “Show print bleed.” A border of broken lines will appear close to the edges of your design. This margin is fixed and cannot be adjusted.
If you see white gaps around the design edges, adjust your background and design elements to cover the white spaces. Due to the risk of a shift when cutting, make sure you extend the images outside of the bleed line to guarantee your document does not have a white stripe along the side of your page.
Also, when you’re making those adjustments, know that anything in the bleed area will be trimmed off your print in the finishing process so if you want something to show up on your print, don’t let it creep into the bleed area.
Crop Marks
Crop marks show the printer where to trim (or cut) the paper or card for your product. The size for crop marks is fixed and cannot be adjusted. The time to add crop marks is when you’re ready to download your design and send it for printing.
After you add bleed to your design, click the Download button on the toolbar.
On the File Type dropdown menu, select PDF Print.
Click the box next to “Crop marks and bleed.”
Click Download.
For more details and information about preparing your files for print, be sure to refer to this article “How to Prepare Your Files for Printing” on our blog.
***Why are bleed and crop marks important?
Missing bleed and crop marks seem to be the most popular reason for rejected print files. If your PDF has edge-to-edge printing, then you need bleed. This means the image should be slightly larger than the finished page size so that when we trim to the crop marks, we will cut through the image so that the printing actually prints edge to edge. Without bleed, your page/cover/document will have a white border all of the way around and the color will not print to the edge of the sheet. Print file preparation is extremely important, so even if you're not ready to start printing just yet, be sure to save these instructions to help you down the road.
Downloading Files From Canva
Canva provides all you need to download a print-ready file, if you follow these directions:
Start by clicking the download button in the top right.
Under “File Type,” make sure “PDF Print” is selected. (Not PDF Standard).
Make sure “Crop marks and bleed” are checked.
Download your files in a single-page PDF format.
Click “Download” to get your files.
If you have any questions about using Canva for printing, or preparing your files to send to us, we’re here to help.
Some authors come to us to self-publish one book. But most authors end up creating multiple books and products, as it’s hard to turn off inspiration (and your audience keeps asking for more!). No matter what kind of books you’re writing – from fitness to finance to fun cozy murder-mysteries – there’s something that everyone should understand early in the process: The benefits of publishing imprints for self-published authors.
What is a publishing imprint?
A publishing imprint is the name assigned to an ISBN. It will be the name listed as publisher on your book copyright or imprint page, on the back cover of your book, and in retail descriptions such as Amazon.
Benefits of creating a publishing imprint
Authors who publish their works under imprints set themselves apart from other self-published authors who have no imprint and are publishing under their own names. Having your book listed with a publisher name that is different than your own creates a level of professionalism that can overcome bias that many still have against self-publishing. Having an "official" name on the back of that book gives it a professionalism that many readers are looking for. It also helps you create continuity with your branding, and gives you more flexibility in marketing and sales.
How to create a publishing imprint
When you work with Vervante, you have the flexibility to choose between using us (Vervante) as your imprint, or creating one for yourself.
Using Vervante as your imprint: If an author uses an ISBN purchased through Vervante, then Vervante will be listed as your imprint. Using Vervante ISBNs and listing Vervante as your publisher adds credibility as we are an established, respected publisher who has been in business for 21 years. Another benefit to using our ISBN is that you, as the author, retain full rights to your ISBN and content (a benefit that many other publishing companies do not offer.)
Creating your own imprint: If you already have a business brand name and your book is a part of that business, you might choose to create an imprint that is consistent with your business. For example, if your brand is “Fitness International,” and you are writing a series of books about nutrition, health and wellness, your publishing imprint could simply be “Fitness International Press.”
If an author wants to create and use their own imprint, they must purchase their ISBNs directly from Bowker. When you purchase your ISBN directly from them, you can set up the publisher name that will be attached to it. PLEASE NOTE: If you purchase ISBNs from Bowker, you don't need to purchase barcodes as well. There are a number of free barcode generators online that you can use.
An imprint is a great way for self-published authors to brand their works and elevate their credibility by having a professional publishing name associated with their books. If you have any questions about using Vervante as your imprint, or creating your own, please email our team
 One of the most addictive things we love to watch on social media are “unboxing” videos. How fun is it to watch people open their packages and see not just what they ordered, but all the extra fun and special stuff inside?
 If you use the online design program
  Some authors come to us to self-publish one book. But most authors end up creating multiple books and products, as it’s hard to turn off inspiration (and your audience keeps asking for more!). No matter what kind of books you’re writing – from fitness to finance to fun cozy murder-mysteries – there’s something that everyone should understand early in the process: The benefits of publishing imprints for self-published authors.