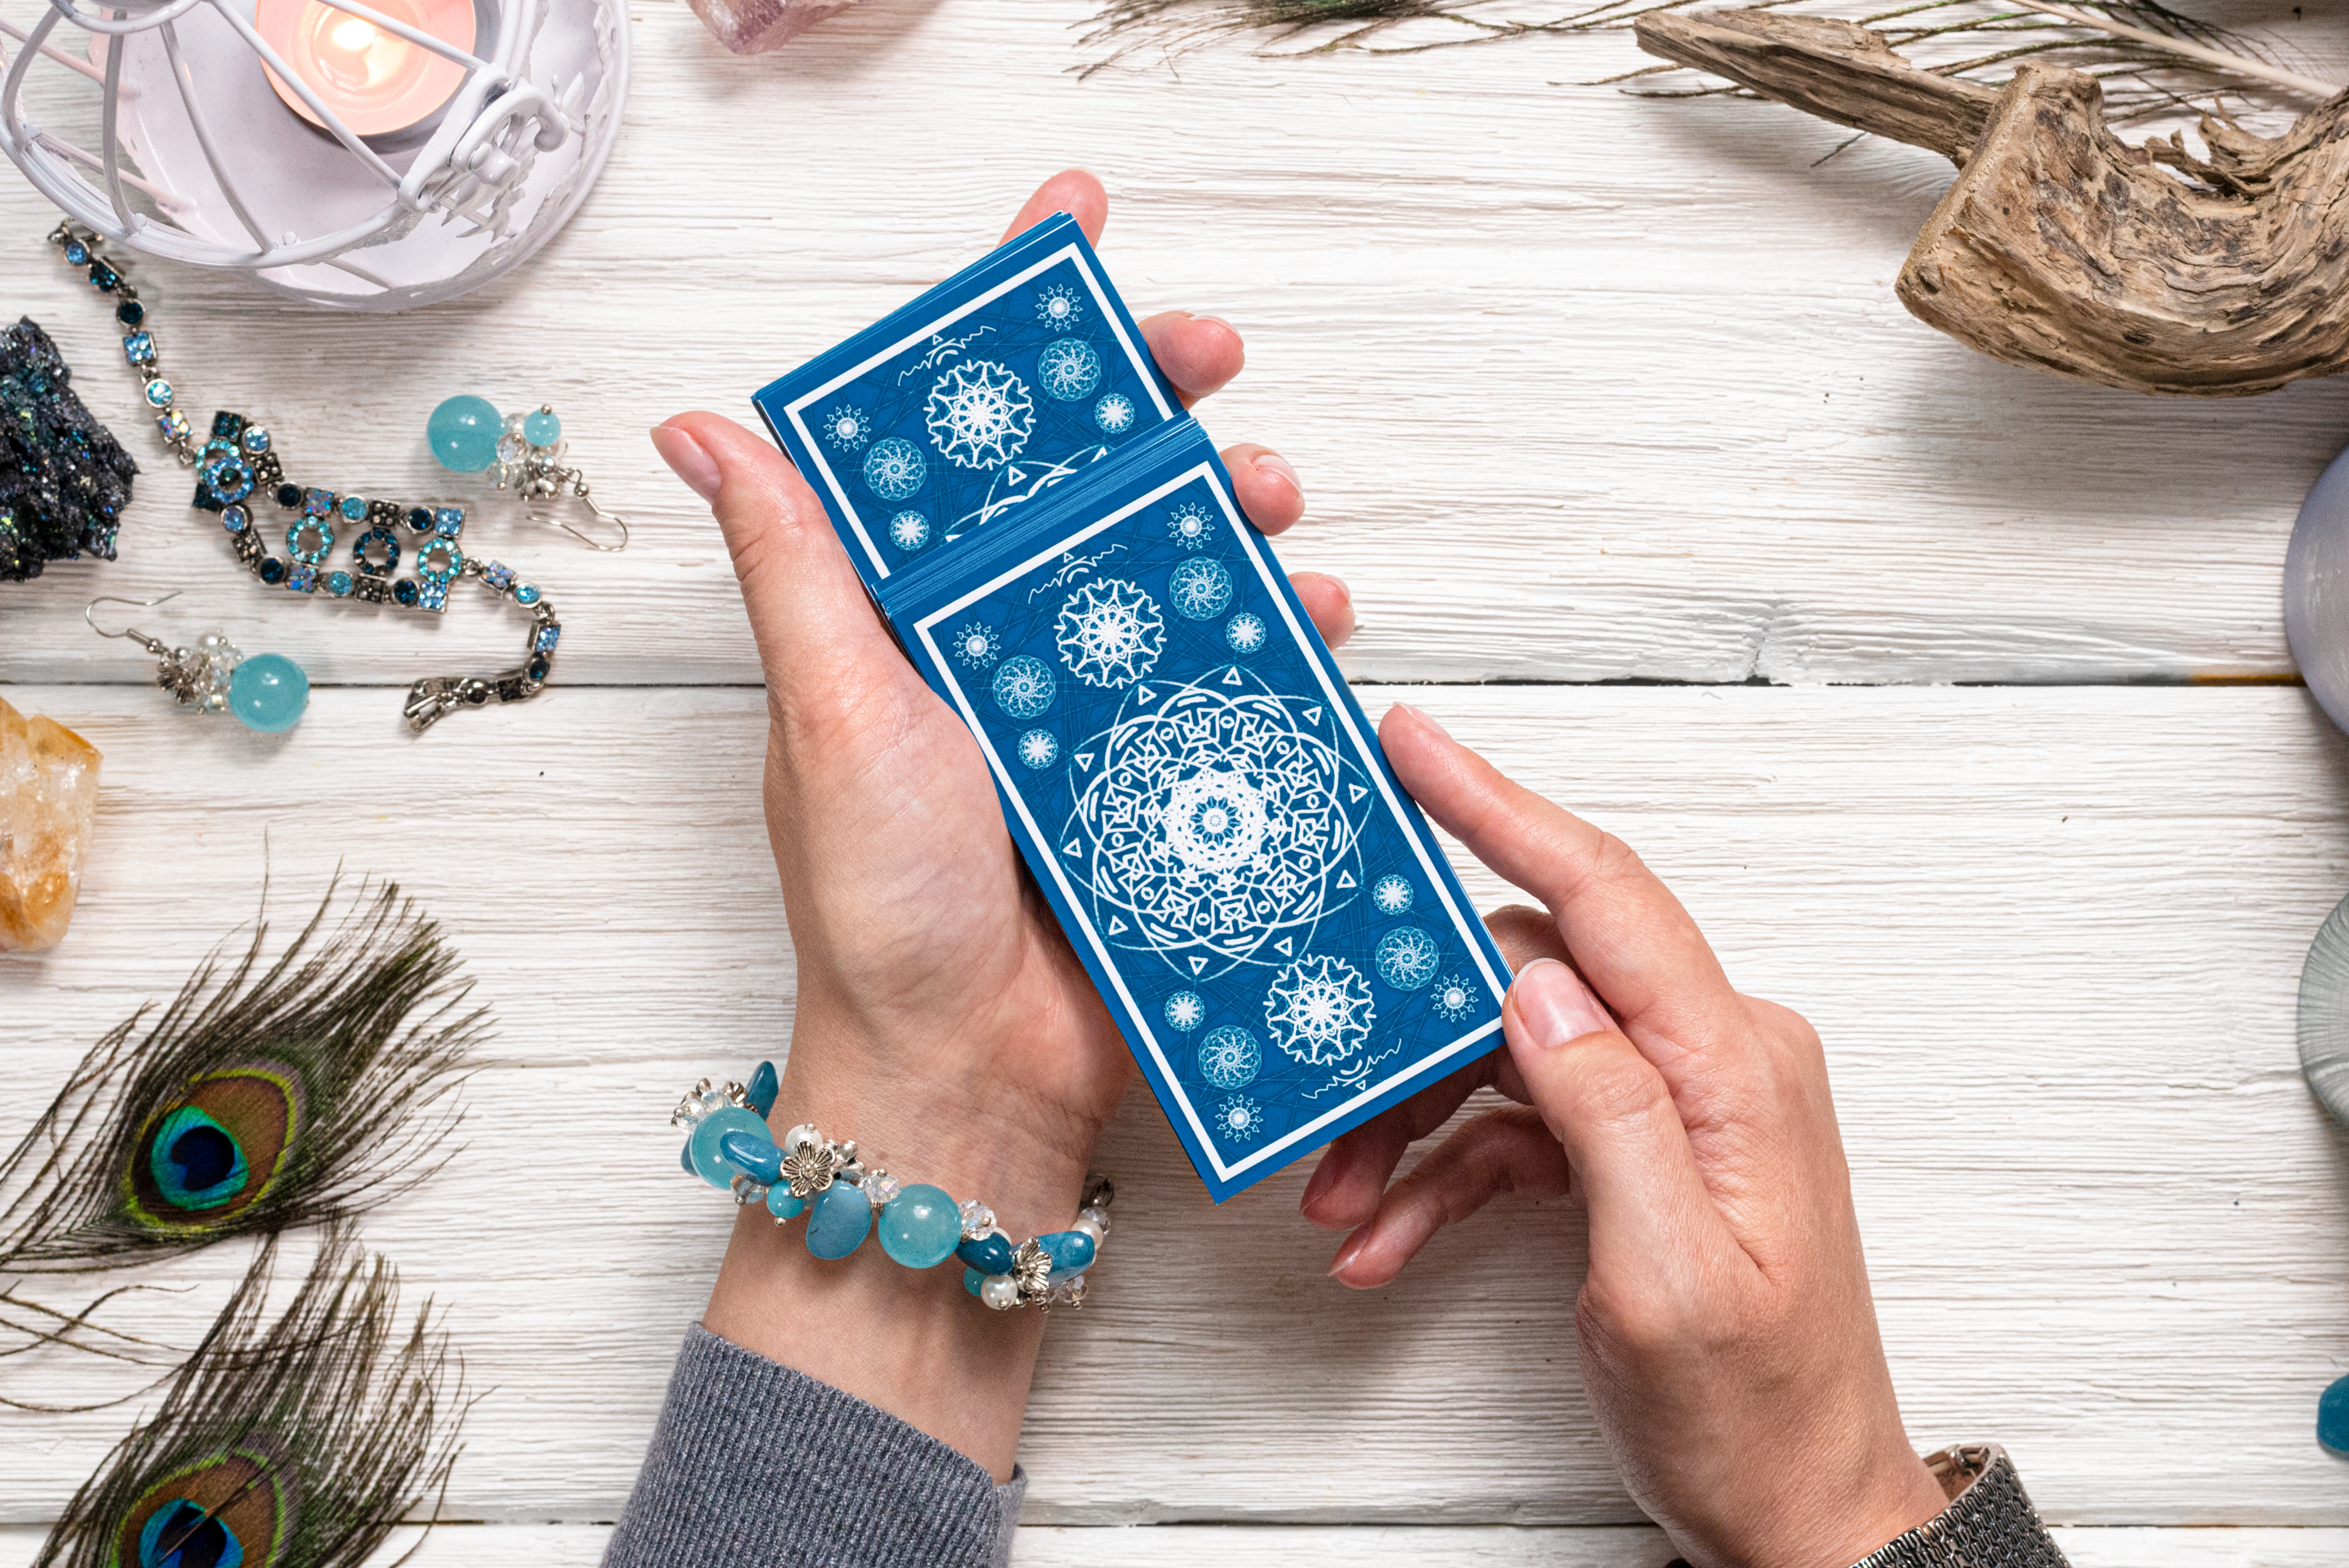
Card decks are a very popular product, with many Vervante customers creating their own versions to use for so many fun and valuable ideas like tarot, recipes, fitness, mantras, study guides, writing prompts, daily prayers, and more.
We know you love card decks. We’ve shared lots of ideas in the past for creating and using card decks, and now want to talk about the step-by-step process to follow for creating a card deck of your own.
Step #1: Card size and specs
First, you need to decide your card’s physical specifications. When we say custom, we mean it, and offer lots of variations you can use to create the perfect card deck for your purposes. We can print card decks:
In any size
Any number of cards in each deck
Variety of paper options
With square or rounded corners
Each card can have unique designs on either side
Color or black & white (or both)
Step #2: Get a Quote
Use the “Get a Quote” link on our website home page or send an email to [email protected] sharing the specs for your new card deck to receive a free quote for printing and production costs. If you send an email, please include the following information:
Size of cards
Square corners or rounded corners
How many cards in the deck
Color, black-and-white, or a combination of both
Step #3: Design
Now it’s time to create your card deck masterpiece. You can hire a professional graphic designer, or you can do it yourself using a program like Canva. If you need a template to work with, we offer free downloads from our Templates page for card decks and tuck boxes. (Be sure to click on the small PDF icon on the list to access the template.)
Step #4: Sending print files
Once your design files are ready, you can upload the print-ready PDF to your Vervante author account. For card decks, we need one PDF for the entire card deck. For example, if your card deck consists of 40 cards, we need an 80-page PDF. Once you have your print files ready you can upload these from the Send Files link via your Vervante Author Dashboard.
Our team will download the files, review your specification document and let you know if we have any questions. If there are no issues with your files, we will add the card decks to your Vervante Author Account. You will receive an email notifying you that your card decks are now available for ordering.
We have an expert guide detailing these steps and more, “How to Create Custom-printed Card Decks,” on the Vervante website Expert Guide page.
Step #5: Packaging & Presentation Great card decks deserve great packaging. We can package and present your custom card decks in unique ways that increase their value in the eyes of customers.
Packaging ideas:
Custom printed tuck box
Custom printed rigid 2-piece box
Plastic “pop up” box
Cello sleeve
Ring
Drawstring bag
Metal tin
Plastic envelope
The custom printed boxes are available in minimum order quantities of 250. You can send us drawstring bags, metal tins or other creative containers for card deck presentation and storage. For an even more creative presentation, you can send us items such as crystals or stones that can be packaged and shipped to customers with the cards.
Need to include instructions or a guidebook with your card deck? We can do that too. We can print small perfect-bound or accordion-folding instructional booklets the same size as your deck to fit in the same packaging.
If this has inspired you to create your own unique card deck, we're here to answer any questions and help you get started right away. Just email us at [email protected] or schedule a phone call with our publishing experts by clicking HERE.
When it comes to the details of publishing books, planners, card decks and other products, some of the most frequent questions we hear are about things like ISBNs, LCCNs, and copyrighting. We know, all those acronyms can get confusing! So we put together this quick guide for understanding what they are and how they apply to your products to help you with this important part of your next publishing project.
ISBN: An ISBN number (International Standard Book Number) is a unique identifier that is assigned to your book or product. The barcode is required to sell products in a physical bookstore. If you are planning to sell your product on your site and on Amazon, you do not need to print or include a barcode on your product. The ISBN is only required for creating the listing on Amazon. You can easily purchase ISBNs through your Vervante author account or directly from Bowker.com. When you purchase an ISBN from us and we list the product on Amazon, Vervante must be listed as the publisher. You are welcome to purchase and supply your own ISBN purchased from Bowker.
Including the price in your barcode or printing the price on your book/product is not required. In fact, we don’t recommend printing a price on your book. This gives you flexibility to change the price, if necessary, without effecting the printed product.
LCCN: Libraries use the Library of Congress database to stay up-to-date on available titles. You can make it easier for libraries to purchase your book by registering for a Library of Congress Control Number (LCCN) - a unique identification number that the Library of Congress assigns and uses for cataloging and other book-processing activities. You need an LCCN if you have a book that you would like to be carried by a library. You can file for an LCCN online, or Vervante can provide that service for you. Click on the link that says "LCCN Assignment" on your Vervante author home page.
COPYRIGHT: We are often asked if its necessary to copyright books and information products. Technically, under U.S. copyright law, your self-published work is protected as soon as you put the pen to paper. Official Copyright Registration, however, gives you a higher level of security when it comes to protecting your work. When you register your work with the U.S. Copyright office, you create a public record of your authorship and are officially recognized as the copyright holder in a court of law. (You can find more details about copyright requirements and protections here.)
Filing for copyright is not a requirement to publish with Vervante but we recommend this step to protect your work. You can register for a copyright yourself or we are happy to provide this service for you. Just click on the "Copyright Registration" link on your Vervante author home page to learn more. You do not need to wait for the application to the US Copyright Office to be accepted in order to include the copyright protected statement on your document.
COPYRIGHT PAGE: This is not a requirement, however it is a commonly-used page in your product to collect and provide elements such as: full title, subtitle, author’s name, editor, illustrator, etc., published date, ISBN, LCCN, date of publication and copyright.
Printed in the United States of America
First Printing, 2021
ISBN 0-9000000-0-0
Your Publishing Name*
123 Main Street
City, State 00000
www.YourWebsite.com
* As a Vervante customer, you are welcome to list Vervante as your publisher, it is not required. Our products are printed and distributed from our printing and distribution facility in Utah, all products proudly made in the USA. If you use Vervante as your publishing name, you can use the following address:
Vervante
224 South Main St #202
Springville, Utah 84663
For more information about copyrights, check out these articles:
The biggest thing to remember is that we provide services for all of the above. Just log into your author account home page and click on the links under the "Product Labeling and Professional Service" section to get started. Or send us an email at [email protected], we're here to help!
If you’ve been thinking about creating a daily planner, the right time to start is right now. Over the last few years here at Vervante, we’ve helped hundreds of clients create and sell the daily planners of their dreams. We want you to have a successful experience, too, so this year we are committed to providing step-by-step guidance for planning, creating and launching daily planners for any year - or even undated planners too!
Planning ahead is the key. Understanding the steps it takes to create a planner will help avoid last-minute stress if you’re launching for the new year. So for today, we wanted to share with you a simple 7-step overview of the process with suggested timelines for creating a daily planner.
Step 1 | Know Your Timeline If you are creating a planner for a specific year and would like your planner to ship and arrive by a specific time, be sure to find out what the deadline is with your printer. Planning ahead for steps in the process such as design turnaround, ordering samples, beta testing, and print times is also essential to know.
Step 2 | Select Your Topic, Size & Specs
The sky is the limit when it comes to topics and types. Start by asking yourself: Who is your audience and what type of planner would best serve their needs? The size and specs for your planner are the foundation of what you’re building. For ideas and inspirations, check out the Vervante Video Vault.
Step 3 | Time to Design
Design matters. If you want to do it yourself, you can use programs like Canva or InDesign to create your planner pages. Or you can hire a professional graphic designer. Just make sure your planner design is both beautiful and functional for a high-quality look and feel.
Step 4 | Decide on the Details: Extras & Add-Ons
It’s all the little extras that can make a planner extra special. Check out the Vervante Video Vault showcasing features that can add both fun and functionality, such as colors of wire-o and spiral binding, metal corners, elastic straps, stickers, and more.
If your planner is intended to be used for more than 90 days, we encourage you to use a board cover or hardcover. A printed softcover is great, however, with daily use it probably won’t hold up.
Cover options
Board covers
Hardcovers can be printed, faux/vegan leather or linen. The faux/vegan and linen options are generally also foil stamped. We have color options on our site HERE.
Laminated softcovers
Softcovers or softcovers with poly overlays
Binding options
Metal wire-o binding
Metal spiral binding
Plastic spiral binding
Casebound hardcover
Punched for disc binding
Step 5 | Pricing & Production
Use the free quote tool on our website home page for free printing quotes and information. We provide a wide range of cost-effective, customized options for printing daily planners so you can get what you need, when you need it, and exactly how you want.
Step 6 | Presentation
A beautiful planner deserves beautiful packaging. If you want to make a great impression right from the start, we can help by providing custom boxes, shipping labels, message cards, stickers or bookmarks that can be included with your planners to give it a personal touch that will really impress customers.
Step 7 | Orders, Shipping and Fulfillment
Successful launches and happy customers depend on having a streamlined sales and shipping process. We can list your planners on Amazon, help you sell from your own website, or list your planner in our online Bookstore where we can handle credit card payments for you. Fulfillment and shipping are also done for you as we print, package and ship your planners anywhere in the world.
We hope this helps you to avoid that “I’m not sure where to start” feeling that many people often have. We’re excited to help you create new planners and are here to help every step of the way.
 Card decks are a very popular product, with many Vervante customers creating their own versions to use for so many fun and valuable ideas like tarot, recipes, fitness, mantras, study guides, writing prompts, daily prayers, and more.
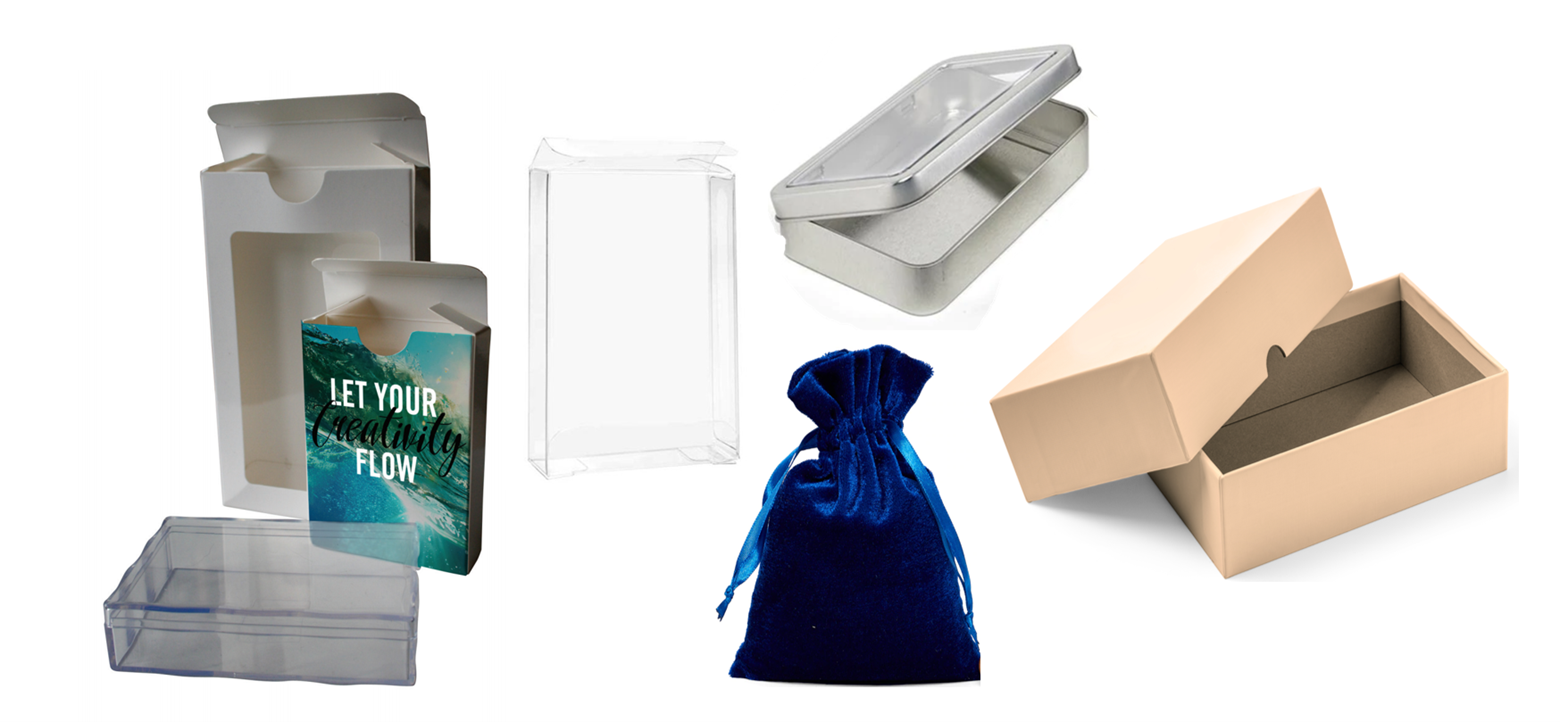 Great card decks deserve great packaging. We can package and present your custom card decks in unique ways that increase their value in the eyes of customers.
 When it comes to the details of publishing books, planners, card decks and other products, some of the most frequent questions we hear are about things like ISBNs, LCCNs, and copyrighting. We know, all those acronyms can get confusing! So we put together this quick guide for understanding what they are and how they apply to your products to help you with this important part of your next publishing project.